Cover the exit
Keep dependable priority fire near the escape route. Add area or siege damage for swarms, then adapt your control towers to speed, shields, and armor.
XenoDefense field strategy
Choose the right weapon for the route. Combine damage, control, and support to keep the swarm inside your strongest defenses.
Keep dependable priority fire near the escape route. Add area or siege damage for swarms, then adapt your control towers to speed, shields, and armor.
Favor bends, intersections, and places where a route returns to tower range. Slow enemies inside overlapping fire rather than away from your damage.
Center auras on compatible, valuable towers. Support towers do not augment each other, and only the strongest aura for each stat applies.
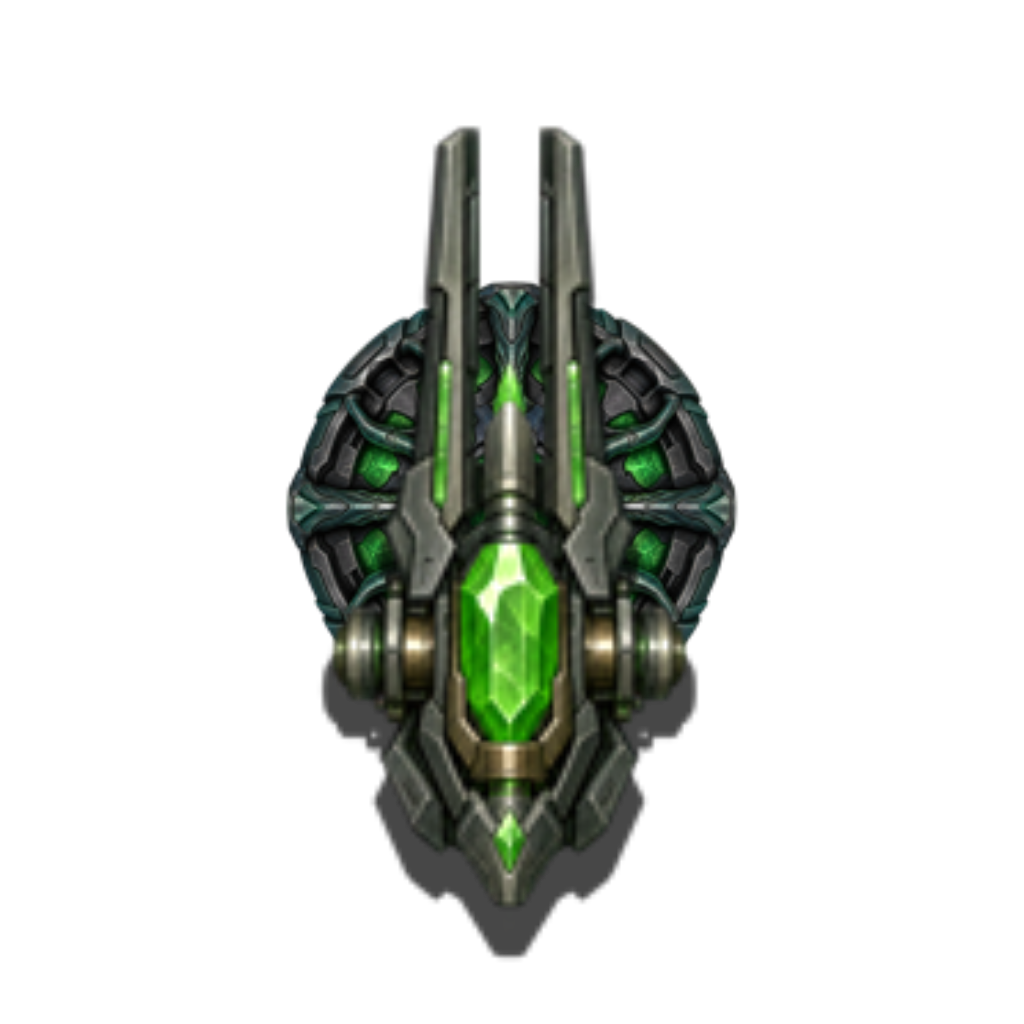
Direct · Physical
Fast, inexpensive priority fire. A dependable foundation for the opening defense and for catching enemies that escape heavier weapons.
Build beside a long path segment and keep dependable coverage near the exit. Pair with Dread Ray so light enemies do not consume its heavy shots.
Available when the battlefield allows this upgrade level.
Rapid fire with a brief slow on enemies it hits. Use it to hold runners under overlapping fire.
Rapid fire and raised damage, with longer reach. Choose it when extra coverage helps your formation.

Direct · Radiant
Heavy, deliberate shots against durable priority targets.
Cover a long approach and focus tough enemies. Keep faster damage towers nearby to handle light targets between heavy shots.
Available when the battlefield allows this upgrade level.
Raised damage with a chance to stun. Use it against durable threats while the rest of your defense covers runners.

Direct · Radiant
A close-range laser that builds devastating damage through uninterrupted exposure to the same target.
Place it where a durable enemy stays in reach. Pair it with Stasis Radiator to extend exposure, and avoid unnecessary target changes: losing or switching targets resets its damage ramp.
Back to tower index ↑
Damage over time · Necrosis
Sprays enemies with necrosis-inducing poison. Longer exposure builds a stronger effect, and decay continues after enemies leave the spray.
Cover long path segments to keep the spray connected. Use slowing effects to prolong exposure, with reliable exit coverage to finish survivors.
Available when the battlefield allows this upgrade level.
Replaces the spray with a close-range field that continuously damages and slows enemies while draining their current health. Place it where enemies remain exposed.

Area · Physical
Damages groups inside its surrounding cloud. Sustained crowd exposure makes it especially useful against swarms.
Place at bends or intersections where enemies stay within the cloud. Pair with Stasis Radiator to hold groups in range, or Melting Tower when armor blunts its damage.
Back to tower index ↑
Chain · Radiant
Chains lightning through enemies in range, spreading damage across a formation.
Choose a position where enemies arrive together so the chain can find additional targets. Pair with Void to make exposed Lightning Bugs vulnerable to its attacks.
Available when the battlefield allows this upgrade level.
Adds a powerful targeted chain against surface enemies across the board. Use its reach to answer pressure beyond your local defenses.

Siege · Physical
Long-range splash damage for clustered waves.
Aim across long lanes and use slows to keep groups together before impact. Keep a faster tower nearby to clean up isolated runners.
Available when the battlefield allows this upgrade level.
Launches a huge blast and leaves a radiation field behind. Favor busy routes where both the explosion and lingering field can contribute.
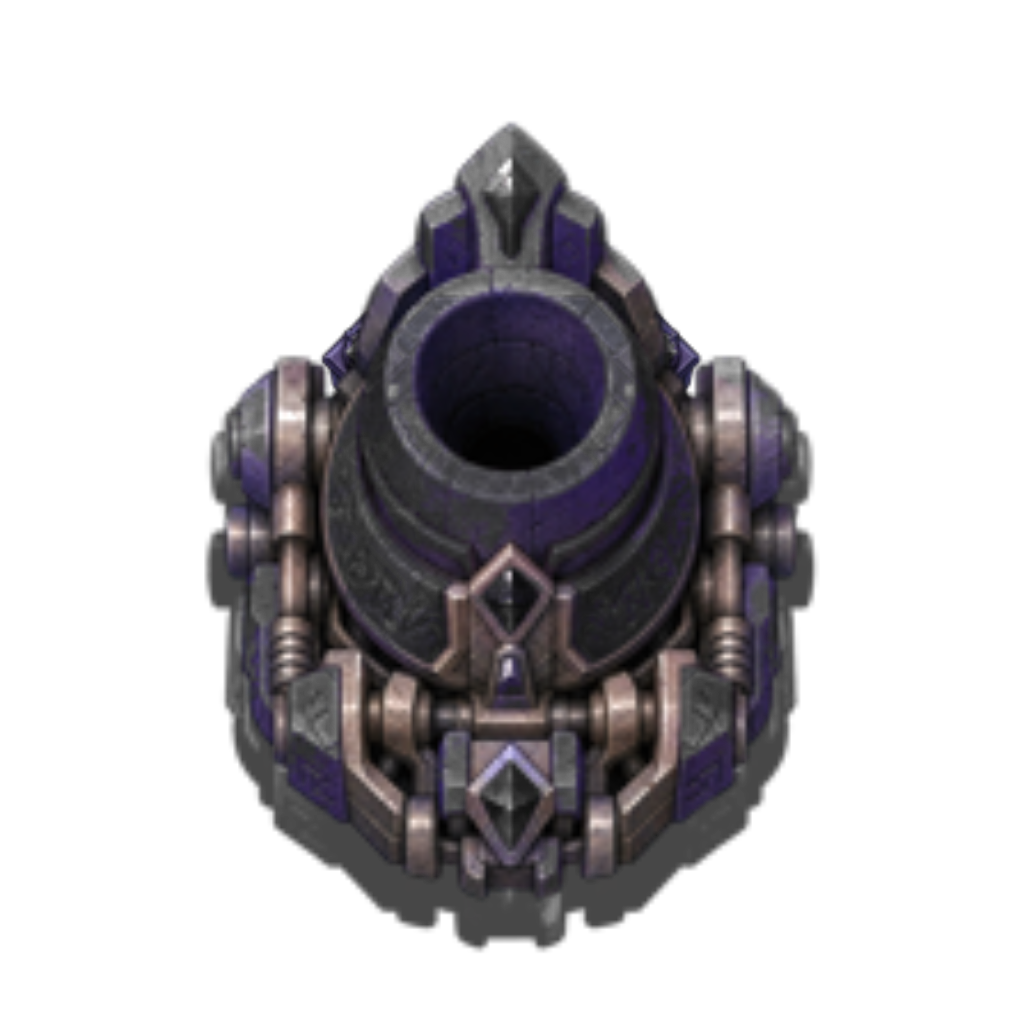
Siege · Radiant
Predicts a future path tile and leaves a damaging hazard at the impact site.
Cover predictable, busy path segments. Slows help enemies remain inside the impact area and lingering hazard.
Available when the battlefield allows this upgrade level.
Adds stronger damage and lingering flames that burn enemies and weaken armor. Combine the burning area with overlapping tower fire.

Degrader · Slow
Slows unshielded enemies, extending the time they spend under your towers’ fire.
Place its aura around your strongest kill zone. Pair with Monolith Laser, Spore Emitter, or siege towers. Active shielding prevents the slow; use Void on protected enemies or their Shield Bug source.
Back to tower index ↑
Degrader · Suppression
Suppresses enemy healing, acceleration, and shielding. It also slows exposed Lightning Bugs and makes them vulnerable to Lightning Conduit.
Cover support bugs to disable their full aura, or cover their allies directly to strip augmentations. Combine with Stasis Radiator to slow formerly shielded enemies, and with Radiant towers against exposed resistant threats.
Back to tower index ↑
Degrader · Armor suppression
A short-range aura that makes enemy armor less effective.
Build beside a compact kill zone where armored enemies remain exposed. Physical damage towers benefit most, making Xeno Ray, Spore Emitter, and Xeno-Missile useful partners.
Back to tower index ↑
Support · Fire rate
Increases the firing rate of compatible towers within its aura.
Cluster slow or high-impact weapons inside its aura to gain more attacks from the same formation. Spread coverage instead of overlapping duplicate fire-rate boosts.
Back to tower index ↑
Support · Damage and impact
Improves damage or effect impact for compatible towers in its aura.
Center it among towers that fire often or hit groups. Invest where the boost benefits an established formation, and avoid redundant damage auras.
Back to tower index ↑
Support · Range
Extends the range of compatible nearby towers.
Use it to let short-range weapons cover more path or reach another lane. Favor positions where the added reach creates useful coverage rather than empty space.
Back to tower index ↑
Support · Fire rate and damage
Combines fire-rate and damage boosts in a shared aura. It does not increase range.
Anchor a dense, valuable cluster of complementary towers. Pair with Horizon Lens when range is the missing piece; duplicate boosts to the same stat do not stack.
Back to tower index ↑
Economy · Biomass
Extracts biomass from an adjacent liquid feature instead of attacking enemies.
Place beside water, acid, or lava once your defense can hold. Protect the investment while it funds later construction and upgrades; preserve damage coverage before expanding your economy.
Back to tower index ↑